Comparing Pixel Art Editors
Reading time: About .
»
Intro
- I know it's been a few months since I last posted, and I sincerely apologize if you were following my Angular series. I started a new job as a senior developer back in February, and it has consumed most of my time. I do plan to get back to the Angular tutorial eventually, but I have no immediate plans for it. If anyone is really interested in the Angular series, then please contact me; I'm much more likely to get back to it if I know there are people interested or dependent on the series.
- This post was actually published by accident before it was completed. So be warned that this is a work-in-progress. I will get back to it as soon as I can. In the meantime, if you'd like to suggest edits, or anything else, please feel free to comment or message me and I will add your suggestions very quickly.
Hello again! In this post I will be comparing various pixel art editing tools. My ADD has decided it is time for me to create my own video game, which is something I have been wanting to do for years. I may decide to do more posts on video game development as my journey progresses, but who knows? I’ve known for a long time now that I want my game to have pixel graphics, and, with my experience as an artist, I knew that I wanted to create my own art for my game. However, with my propensity for abandoning personal projects, I figure it is best to create my game with as many free/open-source tools as possible. While searching for the best pixel editor, I’ve come across many tools, and have downloaded and tested them all to some degree. This post is as much to help myself decide on a final tool as to help any of you, good readers, that may face a similar dilemma.
Of course, each of these tools have their pros and cons, which we will explore, but they also vary in their offered features. It is those features that I will be comparing the most deeply. Hopefully, by the end of this post, I will have chosen the editor for me, and, with any luck, you will have a better idea of the editor you’d like to use, as well.
Feature Comparison Table
First, probably the most important part of this whole post: The Feature Comparison Table! The header row and first column are sticky, so you can freely scroll in order to cross-reference each feature with each of the reviewed tools. Also, clicking on one of the tools’ names in the table header will take you straight to its respective review in the post below.
Finally, a few notes about the icons in the table:
- If you see a , it is because I couldn’t definitively tell if the feature exists in that tool.
- For LibreSprite Dotto, it is still very early in its development, so, while the features may be marked as absent, many of the features are planned for its future development and can be seen on their roadmap.
Due to the large size of the comparison table, I decided to break it out into its own page. To see the table in a new tab, please click here.
Feature Breakdown
Pixel Perfect
Allows you to draw prettier lines an curves. Without a Pixel Perfect feature, lines drawn freehand will usually have extra pixels that give lines a distorted or bumpy look in places where it should look straighter. Pixel Perfect helps with this either by deleting extra pixels as you go, or by creating a pixel at a diagonal to give a better angled look.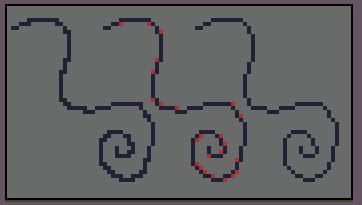
Layers
Layers are transparent sheets that allow you to separate elements of your art. This separation allows you to draw on one layer without fear of affecting other layers. This helps greatly with animation, or giving a feeling of depth to your art.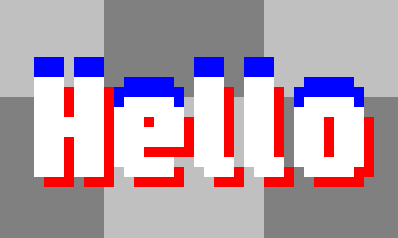
Symmetry Mirror Pen
Symmetry tools, or mirror pens, allow you to draw art that is perfectly symmetrical vertically and/or horizontally. This can be useful for patterns and designs, or even drawing the front view of a characters face.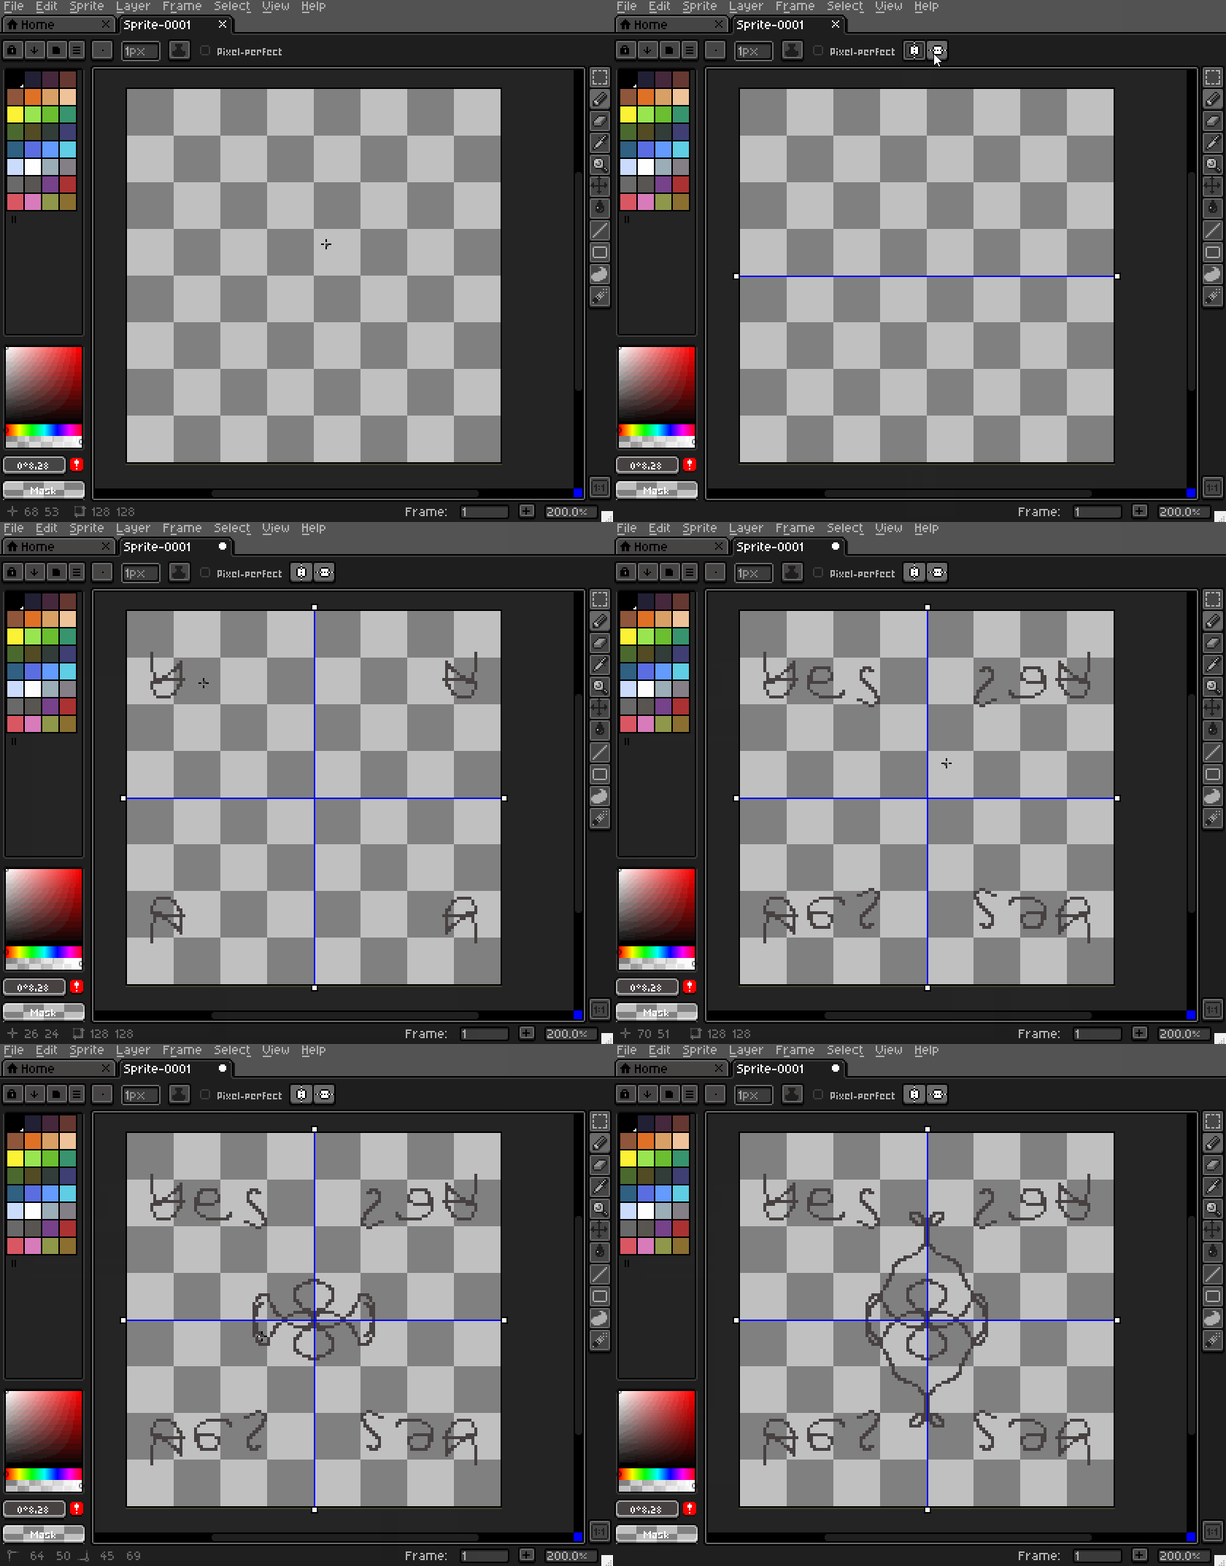
Auto-Shade/Shading Mode
Auto-Shade tools allow you to darken or lighten an area of your art by simply drawing over it again.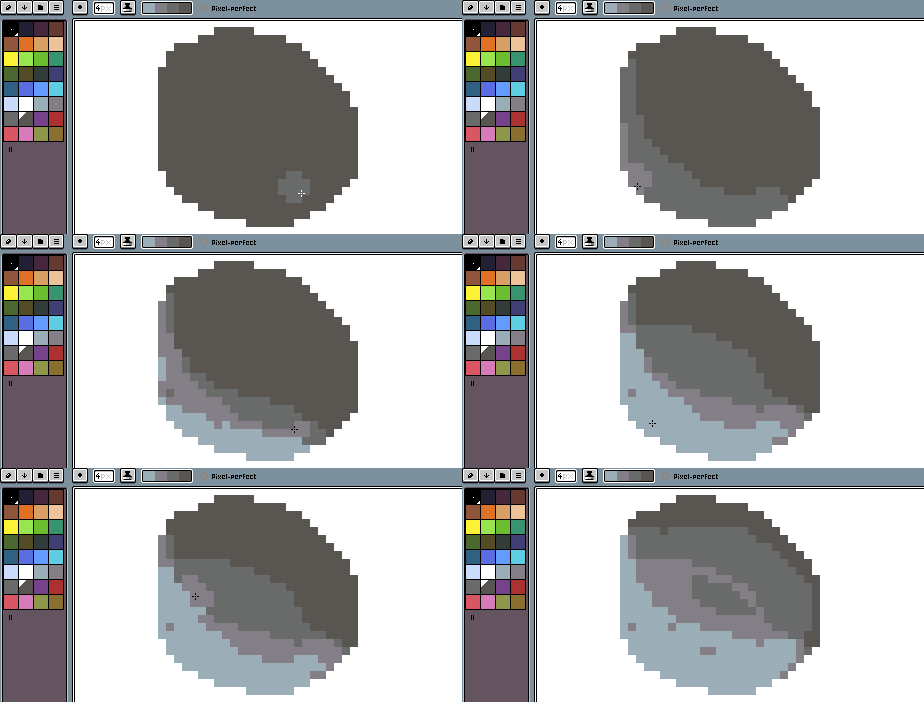
RotSprite Rotation
RotSprite allows you to rotate all, or part, of your artwork without losing any resolution. In the image below, the sprite on the left was rotated without RotSprite, but the sprite on the right was rotated with RotSprite.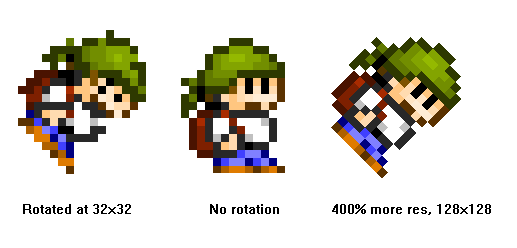
Custom Brushes
Custom brushes allow you to recreate a look/feel of an area of art and use it as the pen itself.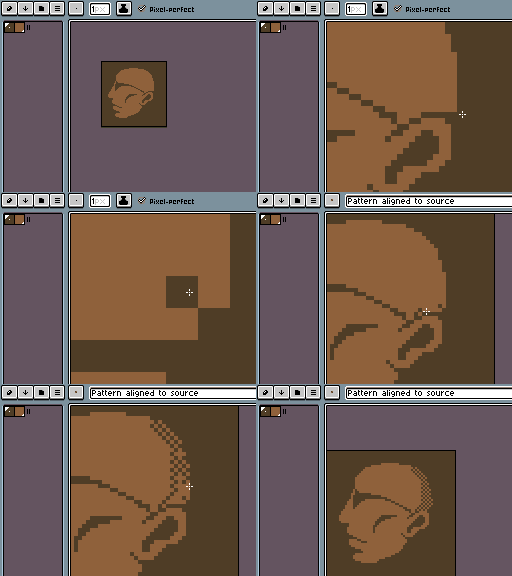
Anti-Aliasing
Anti-Aliasing is useful for softening edges of your art and removing the bumpy look in places where the edges should be softer.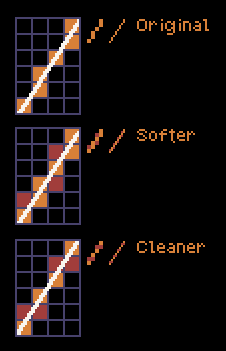
Tile Mode
Tiles are images that can be duplicated and placed throughout an artwork to create a pattern or texture.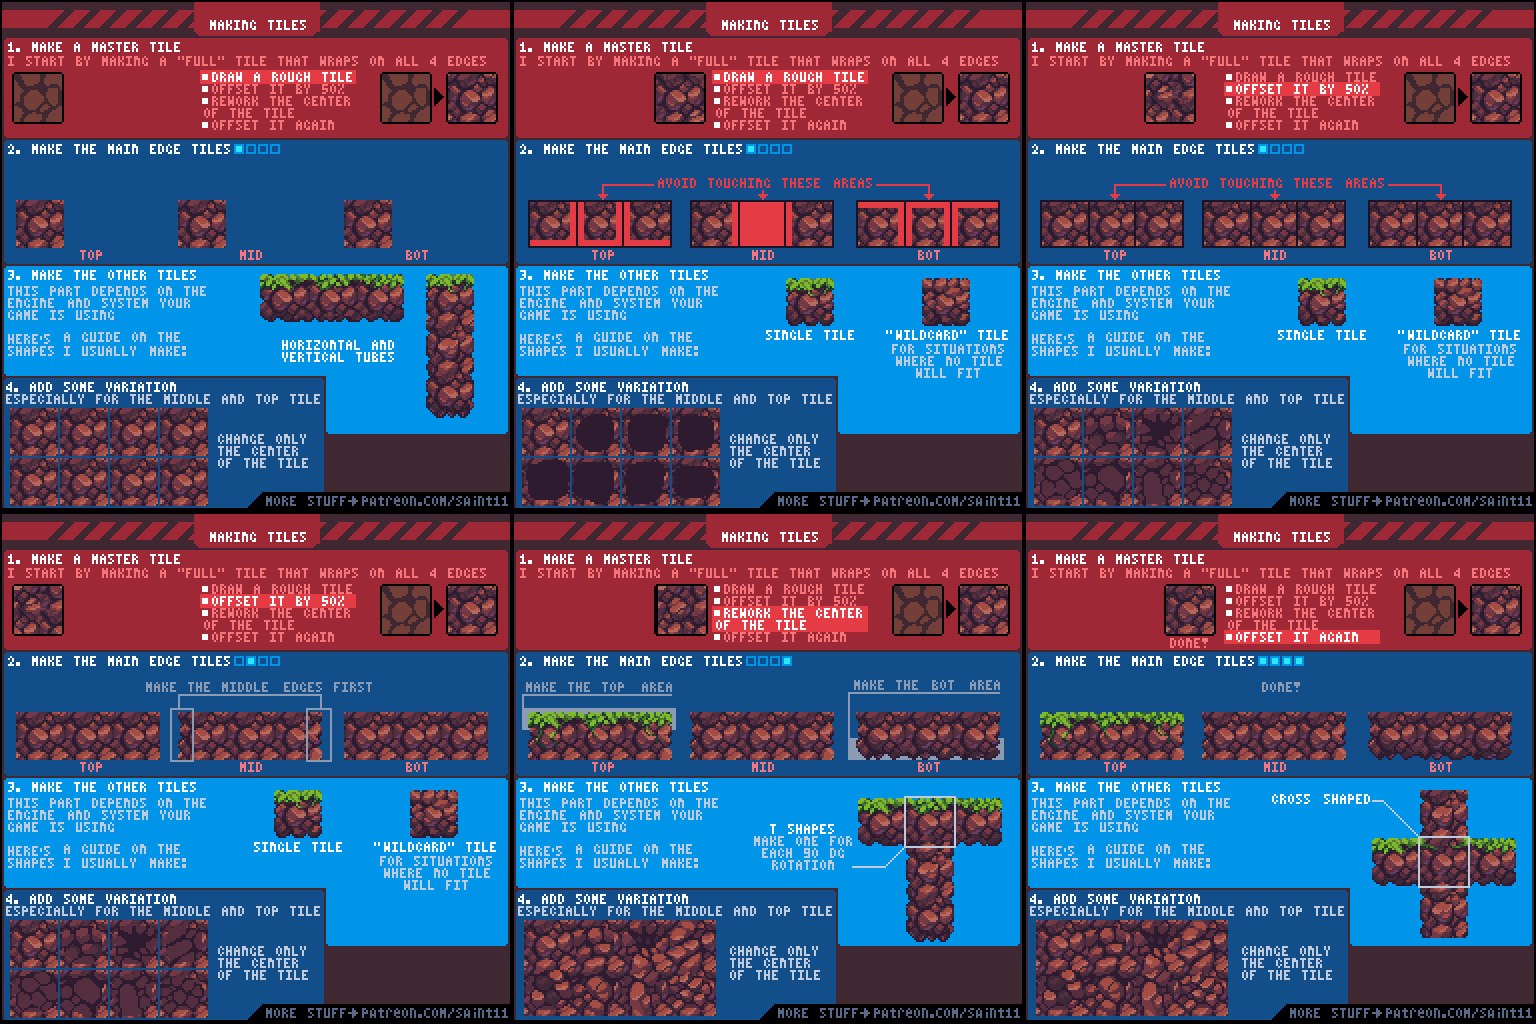
File Export
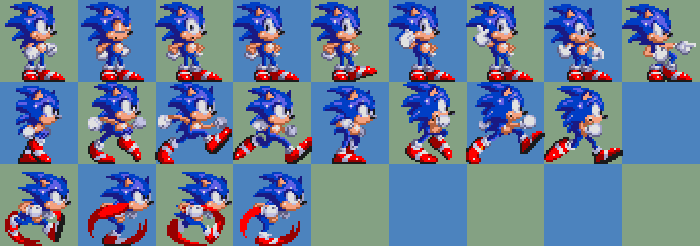
Most of these editors allow you to export in PNG, at least, but some allow you to export to a variety of other file types, including GIF, or even sprite sheets.- PNG
- Animated GIFs
- Sprite Sheets
- A sprite sheet is an image that consists of several smaller images. Combining the small images in one big image improves the game performance, reduces the memory usage, and speeds up the startup and loading time of the game.
Animation
Since I'm looking for an editor that I can use for game development assets, animation is a big thing for me. Because of this, we will look at several features related to animation.- Frames
- Frames are individual images, usually duplicates of a sprite with small changes that, when put together in sequence, creates an animation.
- Frame Tags
- Frame tags are just a little extra that helps to organize your frames. This one isn't as important to me, but it is a nice bit of icing on the cake.
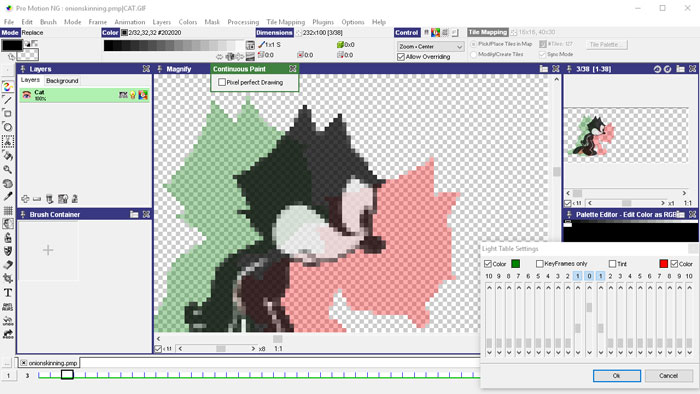
- Onion Skin
- Onion skin is another great feature to have when creating sprite animations. I'd like to say it isn't important, but I'd be lying, haha. Onion skins show the outline of frames, or frame, that are adjacent to the frame you're currently editing. This allows you to see the placement of your sprite before and/or after the image you're editing and helps to create more accurate animations. It is a huge time saver.
- Playback Modes
- Playback modes can encompass a few different things. Som can allow you to loop frame sections in forward, reverse, and even ping-pong modes. Some just allow you to change preview speed.
Palette
Coming from a fine-art background, the palette is very important to me. Most of these tools have great features that allow you to adjust your palette.- Export/Import
- Some of these editors allow you to import from an existing image, which can be very useful if you want to keep to a certain style.
- Some of these tools have specific palette file formats, while others may let you import from palette file formats used by other programs, such as Photoshop's palette file format.Import from a specific palette file format.
Extensibility
In this context, extensibility refers to the ability to customize the editor to your needs. In this case, I don't just mean the ability to be able to change the tool's color theme; I mean the ability to extend the functions of the tool and add features, tools, or functions that either enhance the tool's current functionality or adds new capabilities to the tool. Now, this isn't a deal-breaker by any means, but it is a very-nice-to-have.Tools
Aseprite
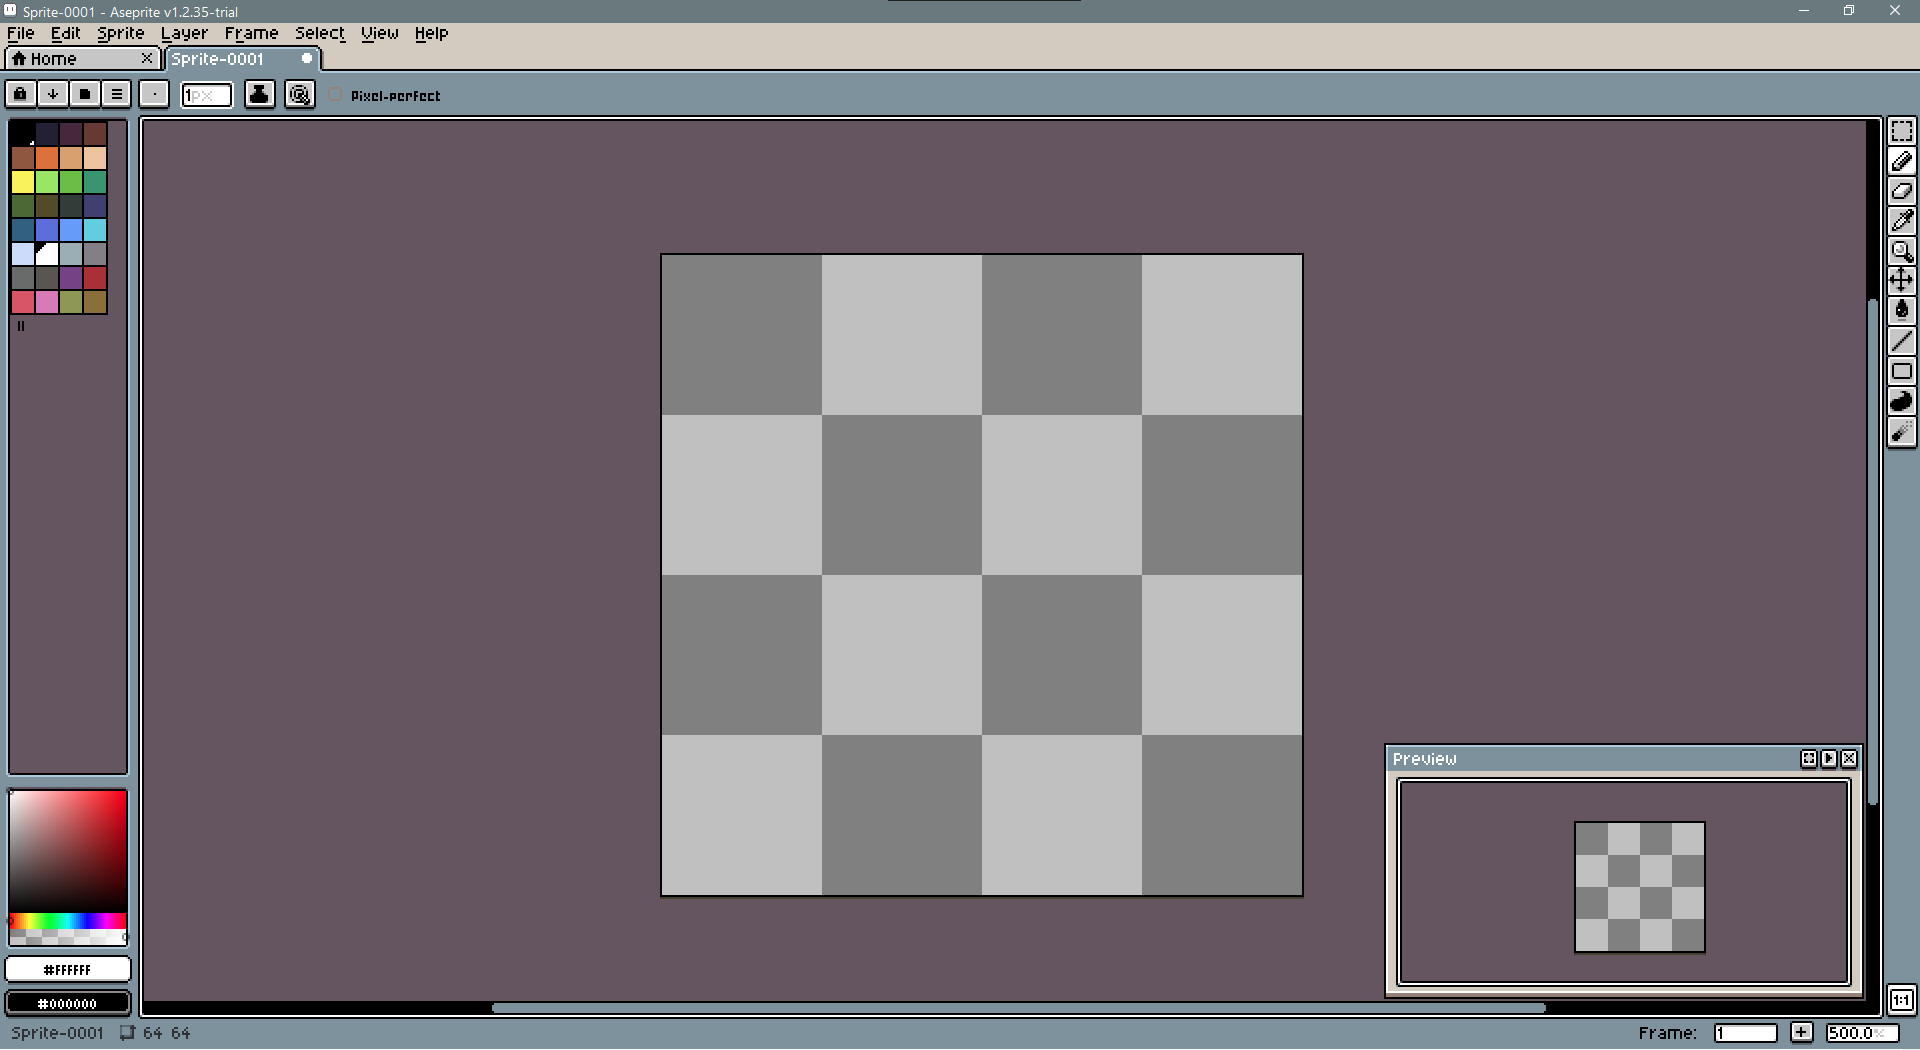
Aseprite seems to be the standard in pixel art circles. If you visit any pixel or game resource sites, or if you just do a search for “pixels” in general, then you are likely to see Aseprite mentioned multiple times. Because of this, I will cover this editor first, and I will be honest with you, after reviewing this editor, I’ve grown to like it quite a bit. I will continue to review the others, but they will have to blow me away to make me choose them over Aseprite…
At first glance, when opening the editor, it isn’t quite obvious why. The UI is a bit basic, very simple, and it doesn’t look very feature-rich. However, once you start digging into the program, playing with the tools and settings, then you start to see that this editor actually has quite a lot to offer.
One thing that Aseprite does well that I was surprised, and disappointed, to find in regard to the other editors while writing this post and doing my research, is that Aseprite is very well documented! Their website Aseprite.org does a great job listing its features and providing documentation. Also, if you’re new to pixel art, like I am, then you will also be happy to see that Aseprite has a thriving community with everything from galleries and guides to help and announcements. Getting started with Aseprite, or getting assistance, shouldn’t be a hassle while utilizing this tool.
Aseprite’s UI is unique to all the other editors on this list. You can see from the screenshot above that the UI has a very pixelated design. While this is unique, and I personally like it, some professionals may be put off by this design choice. True, it doesn’t have the same modern polish as something like Photoshop, but it does give the editor a more beginner-friendly feel while still offering all the professional features seen in the editors with a more modern UI. Besides, sometimes all it takes to give something a modern feel is to simply update the theme, which Aseprite allows you to do by either creating your own, or by downloading pre-made themes. Check out some of the most popular ones here.
Extras
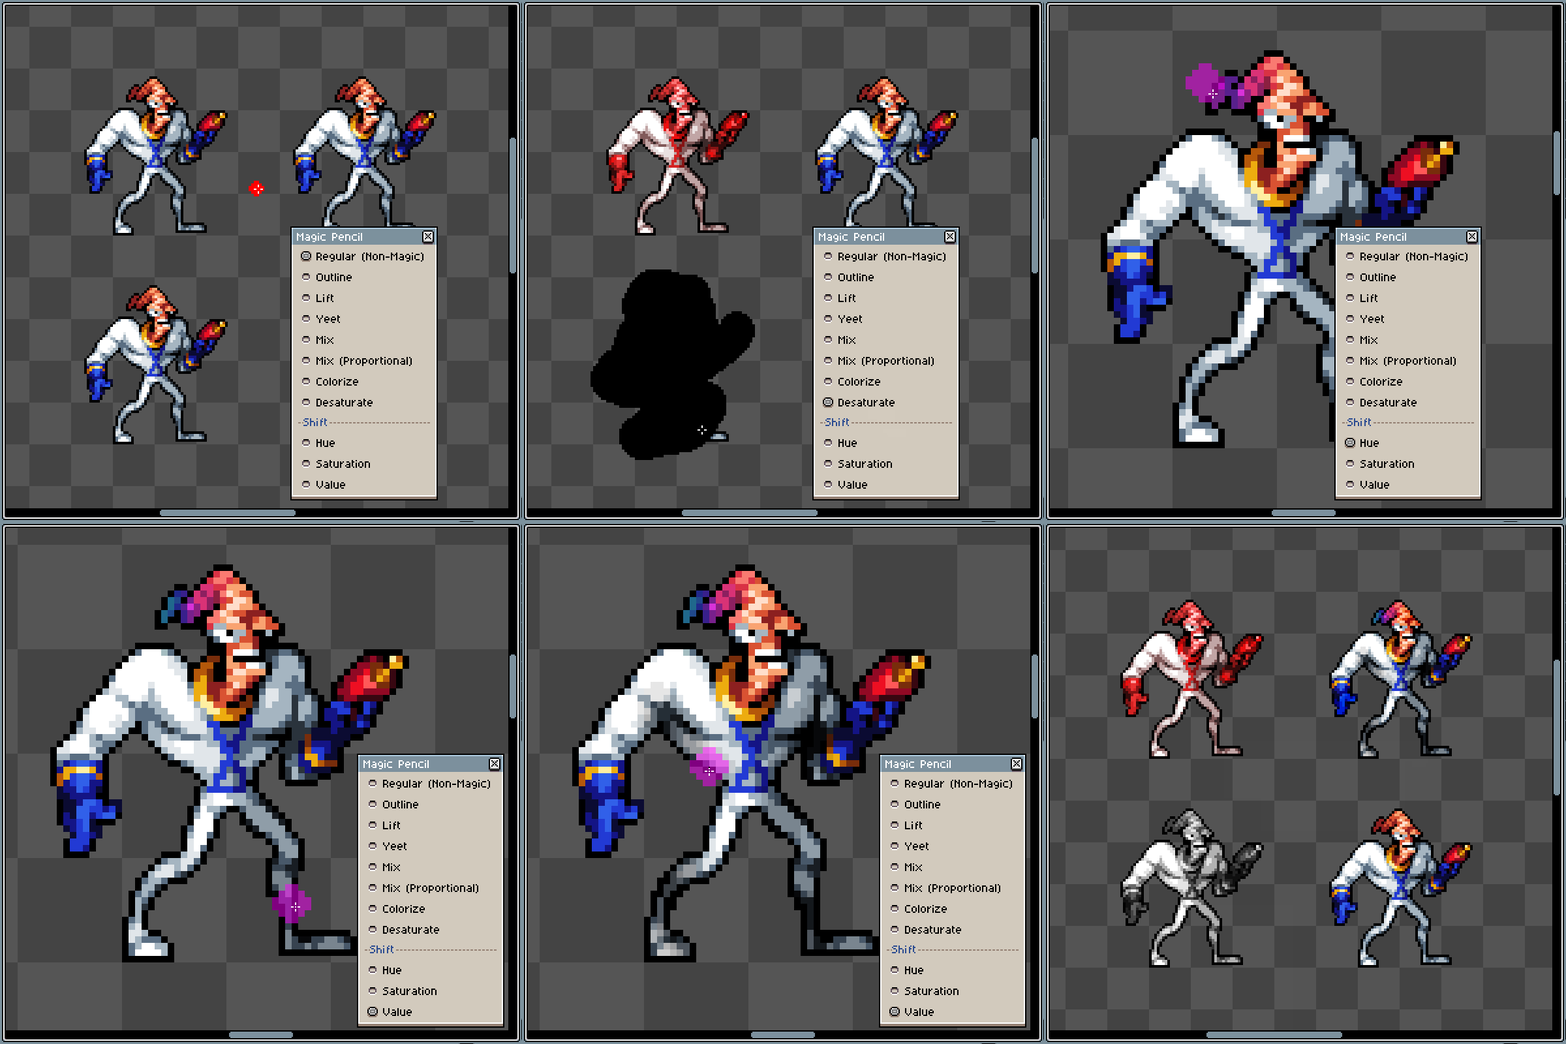
Perhaps one of the best features about Aseprite is that it allows you to add extensions and custom scripts to help automate some of the more tedious aspects of pixel art creation. Check out this link to find a plethora of extensions available for Aseprite. After a quick perusal of the link myself, I think my personal favorite is the Magic Pencil. Check out this gif showing what the magic pencil can do:
Where to Get It?
Until August 2016, Aseprite was completely open source, but now it is licensed under the Aseprite EULA. The TLDR of the EULA basically states that you can still clone the source code, modify it, and compile it for FREE, but you can’t share or sell a compiled copy, or use its code in your own project (unless it is code that existed before the introduction of the EULA).
Supported Platforms
- Windows
- macOS
- Ubuntu 32-bit and 64-bit .deb packages for Ubuntu 18.04 or greater. These packages can be uncompressed and executed in other Linux distributions, too (Fedora, etc.).
- Steam
Compile Your Own Copy
If you want Aseprite for FREE, as mentioned above, you can compile it yourself by following the instructions here. However, I will tell you from my own experience that it isn’t easy. I spent
many days and a few sleepless nights trying to compile and run Aseprite for myself, but never had any success. I was able to
finally get it to compile, but I could never get it to open successfully, as it would crash and close immediately after opening.
There are a ton of tutorials and even some other blog posts and
reddit posts
online that walk you through the process, but even following those, I never got it to work. Now, I use my computer for
all sorts of development purposes, so it is possible that I have some conflicting packages, or something, but I don’t
think it is worth the time to continue to troubleshoot for myself. Also, if you compile it yourself, and you ever want to
update the application, then you will have to repeat the process in order to update it. Now, if you have Windows, then you
may want to check out The Lite Crafter’s AsepriteTool
which supposedly builds Aseprite for you and will even update it for you, but, again, I didn’t have any luck with it.
So, when I started writing this post, I had been unsuccessful when I tried to compile Aseprite myself. However, I did figure
out my issue: I had MSys2 installed on my computer. Aseprite’s install.md warns you about that, and I thought I had deleted
MSys from my system, but apparently an older install of Visual Studio that I had on my computer previously installed MSys
as part of some other feature I downloaded. So, I uninstalled the Visual Studio, and pretty much everything I’ve ever installed
for Visual Studio that I don’t currently use in any projects and reran the Aseprite Tool, mentioned above, and it worked!
Download the Trial Version
Aseprite also offers a free official trial version that has all the full features of the editor unlocked, if you want to
give it a shot before paying for the full official version. Be aware, however, that any work you create using the trial
version CANNOT be saved. So, don’t think that you can just live with the trial version forever ![]() . If you want to
give it a try, then you can download the trial here.
. If you want to
give it a try, then you can download the trial here.
Buy an Official Copy
If you’re really serious about Aseprite and really want your own copy, then you really should consider paying the $20 and buying it directly from the developer. It’s a one-time fee, and it includes all future upgrades. Plus, it supports the developer and helps to keep the development and improvement of Aseprite ongoing. To see what you get when you buy the full version, check their FAQ, here. If you think Aseprite is the tool for you, and you’re ready to pay for the full official version, then you can do so on their website here, Steam, or Itch.io.
GrafX2
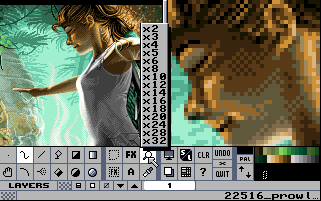
GrafX2… Wow. Now this is an interesting program. Honestly, I almost didn’t add it to the list. However, it has been around for about twenty years and, when doing a search for pixel editors, this tool is listed quite a bit, so it must be worth at least checking out, right?
Now, if you’re a coder/programmer, then you’ve probably heard of Vi, Vim, and/or Emacs. To me, GrafX2 is the pixel editors’ equivalent those code editors. I say that, because, like the aforementioned code editors, GrafXx2 has a very minimal UI and its design is very reminiscent of MSDOS, which makes sense, because it is actually an upgraded port!
Unfortunately, for a program that has been around so long, finding information about its documentation and/or features is a very hard task. Because of this, you may notice several icons in the comparison table under GrafX2’s name. However, the documentation that I did find does mention that you can press F1 when selecting any of GrafX2’s tools and a help message will display with more info about the tool.
I played around in GrafX2 for a bit, but ultimately, I don’t think this is the program for me. If you like a minimal UI, tons of customizable keyboard shortcuts, and a no-fuss interface, then this may be the program for you. I definitely recommend downloading it and playing with it, regardless. May review of this tool may seem negative, but I actually have a ton of respect for this program and, if I had the time to spend on learning it through a ton of trial and error, then I would certainly keep it in my toolbox, but as it stands, I think I will be going for a more modern pixel editor.
Where to Get It?
If you would like to try out GrafX2 for yourself, then you can download it for FREE from their website, here
Supported Platforms
The main platforms supported for GrafX2 are:
- Windows
- Haiku
- Linux
- Atari: 2.8, Nightly builds
- GP2x
- Nintendo Switch
Other platforms supported, and usually provided by third-parties, can be found on their website, here.
PixiEditor
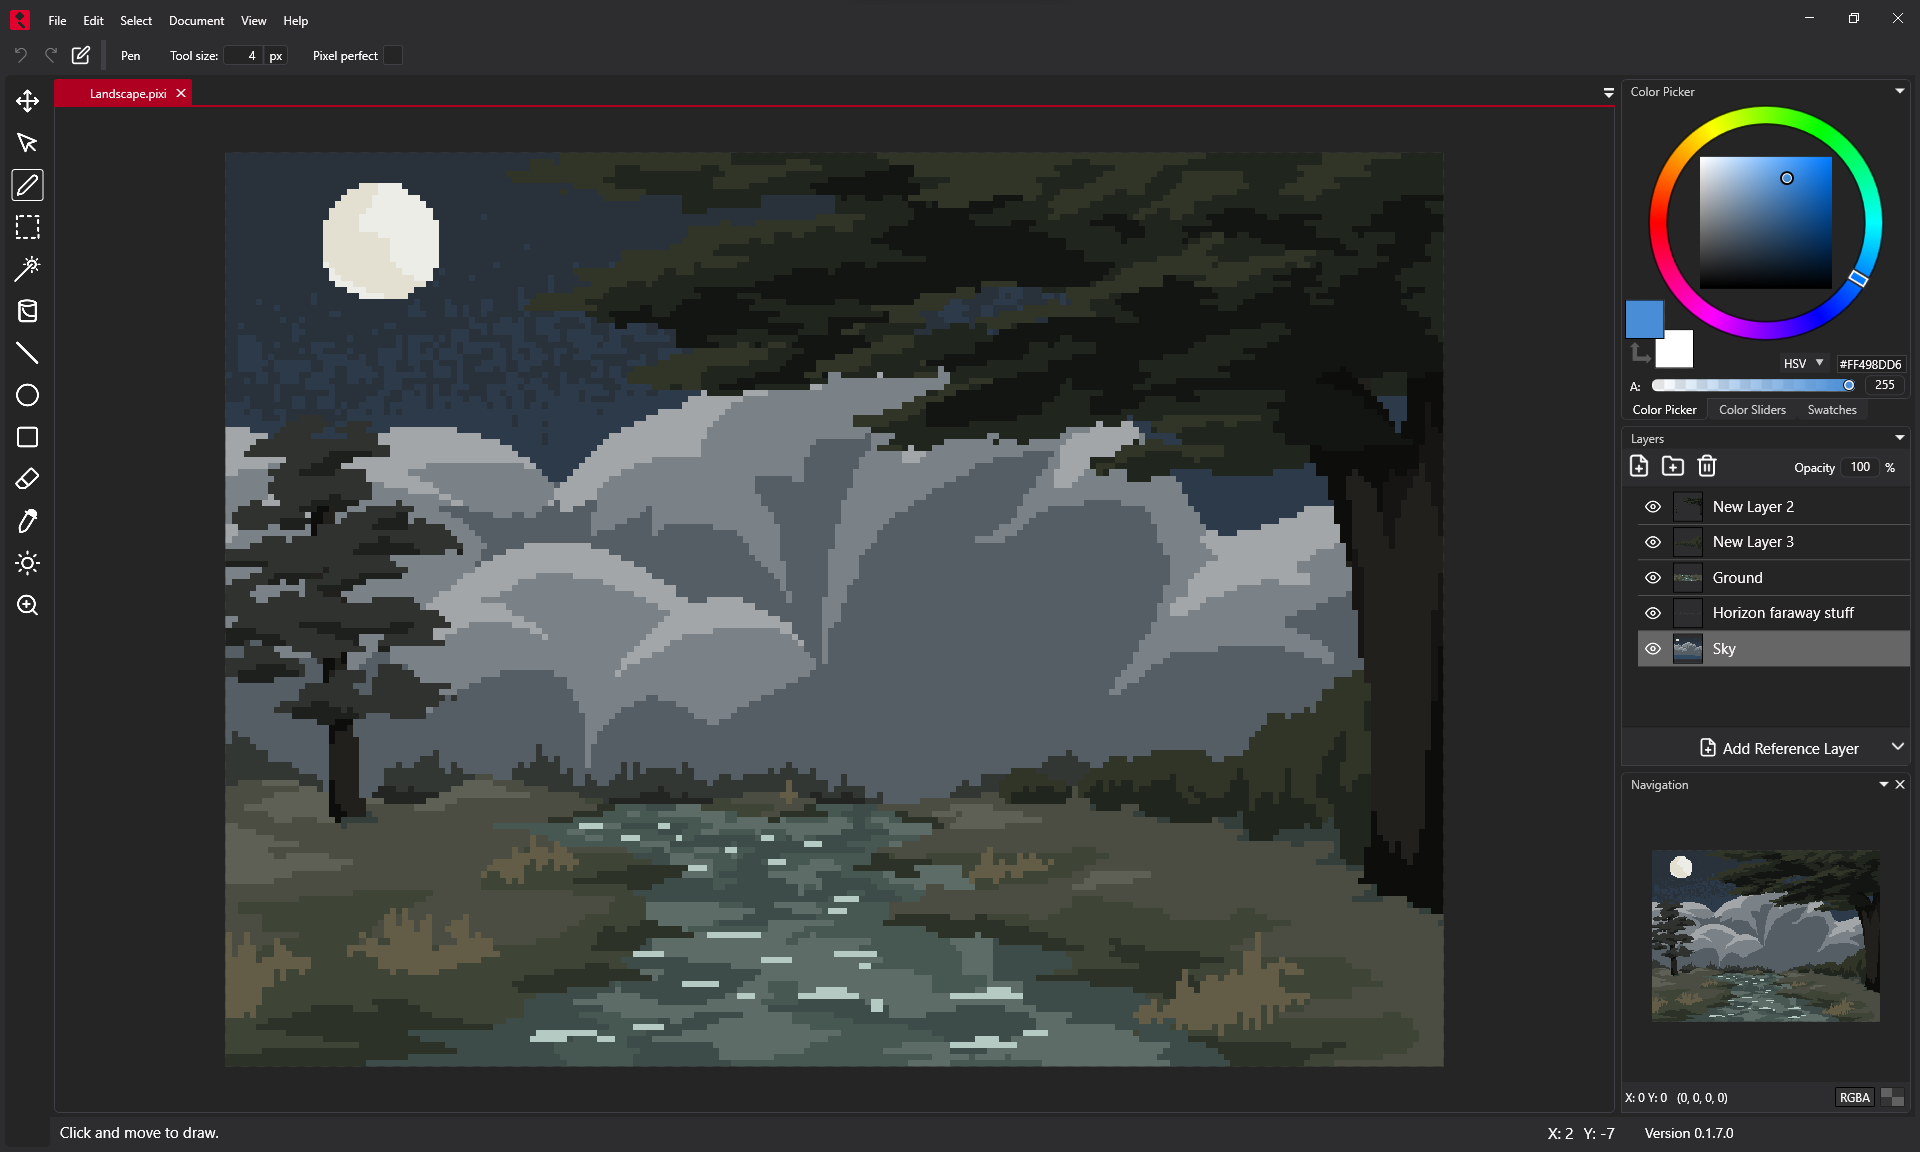
LibreSprite
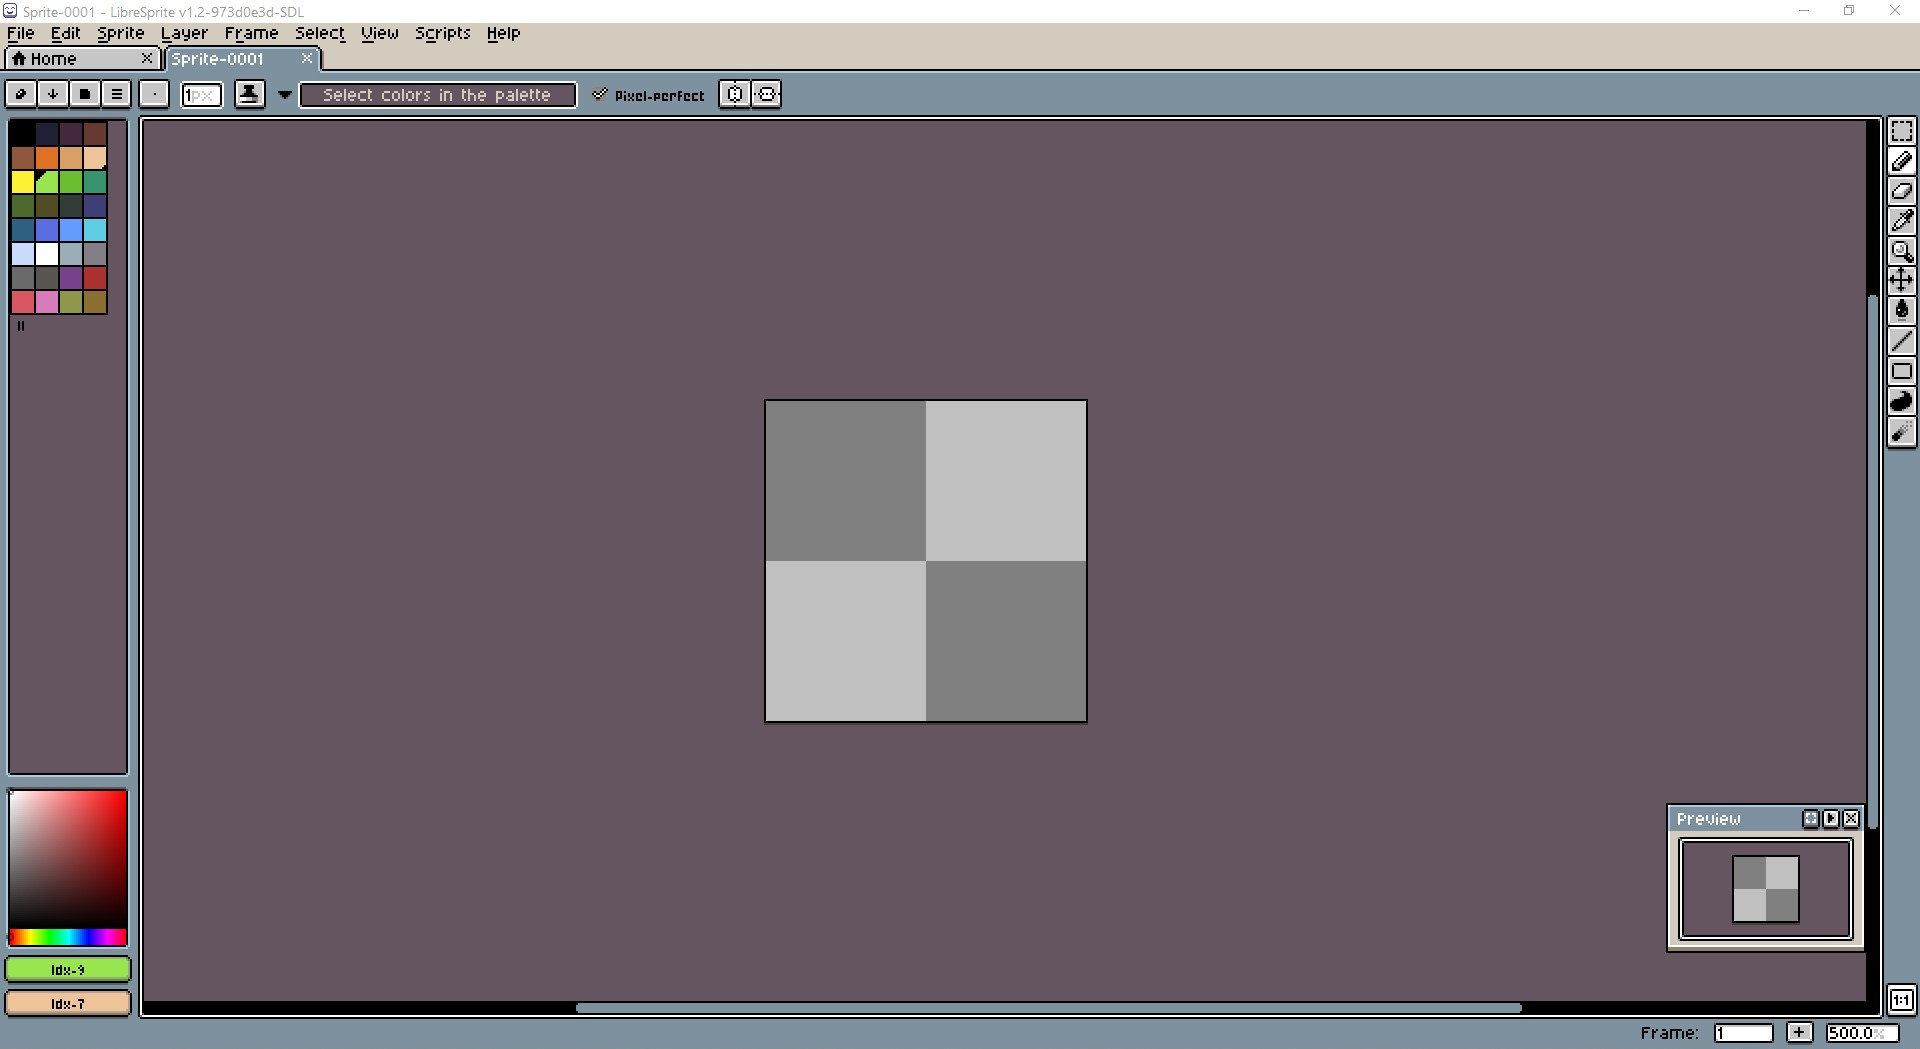
- Free to compile or download
- Forked from Aseprite’s last open source release
LibreSprite Dotto
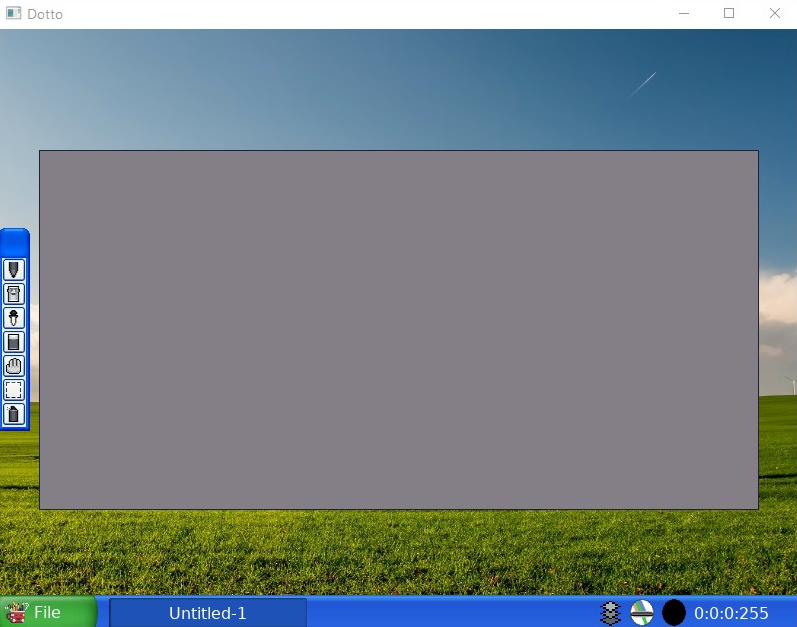
- Free to compile or download
- A rewrite of the original LibreSprite that contains more features
JPixel
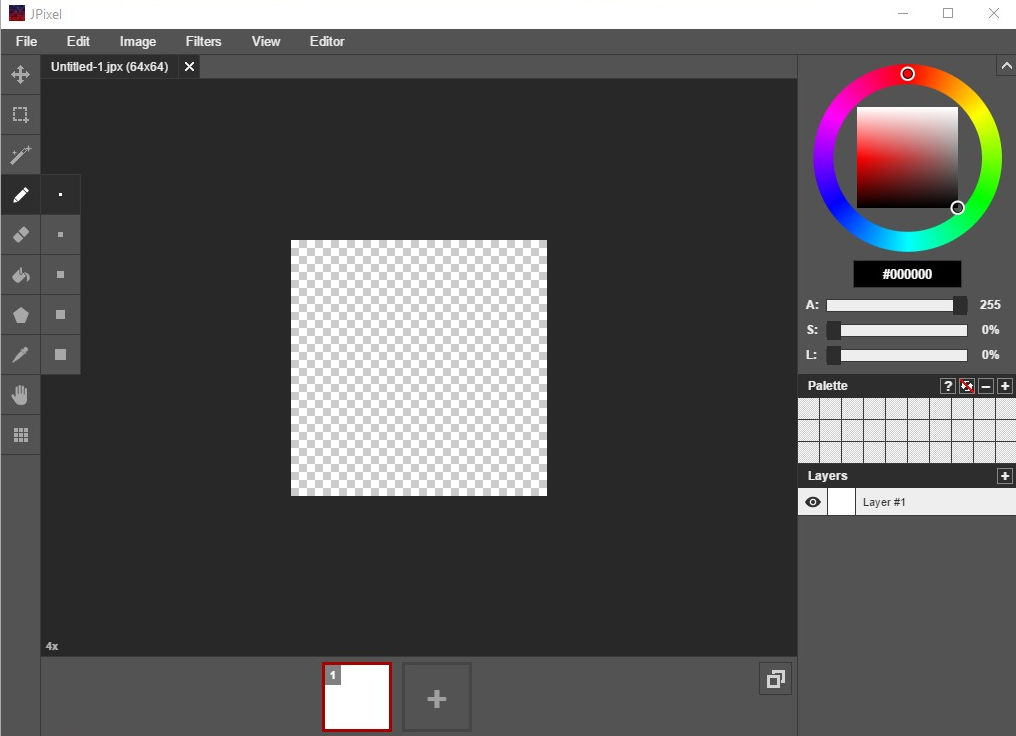
- Free
Pixelorama
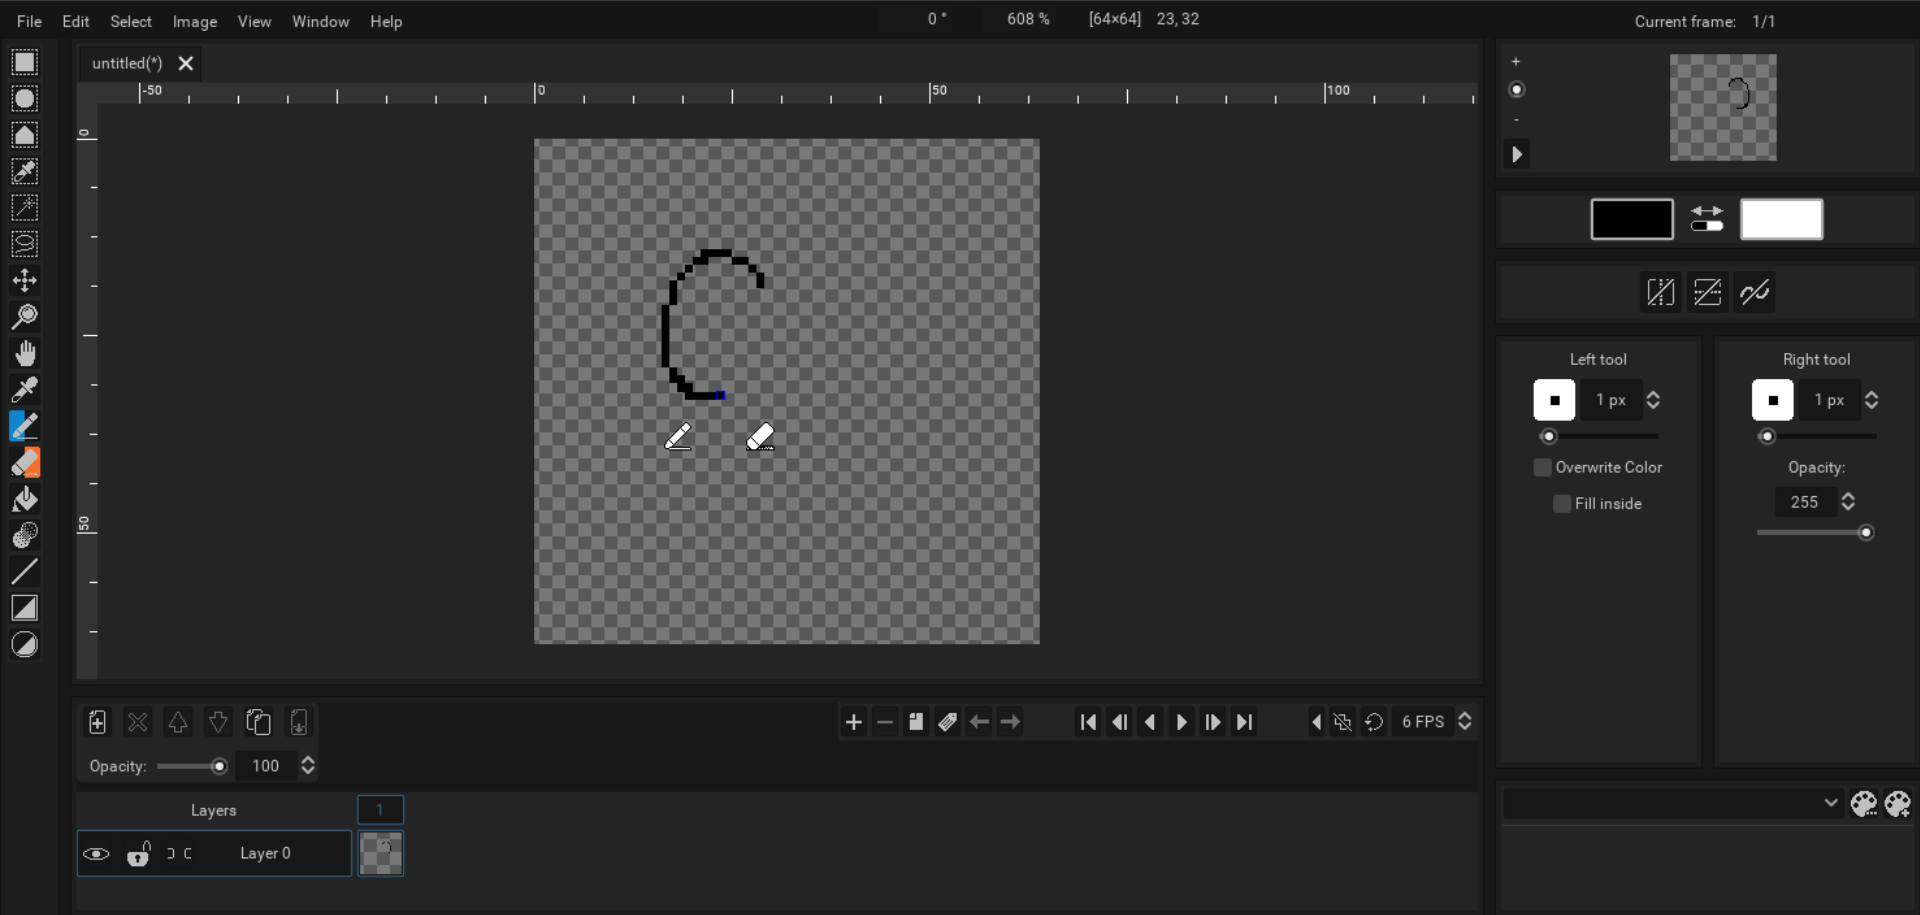
- Free
- Online and Desktop
Pixel Studio
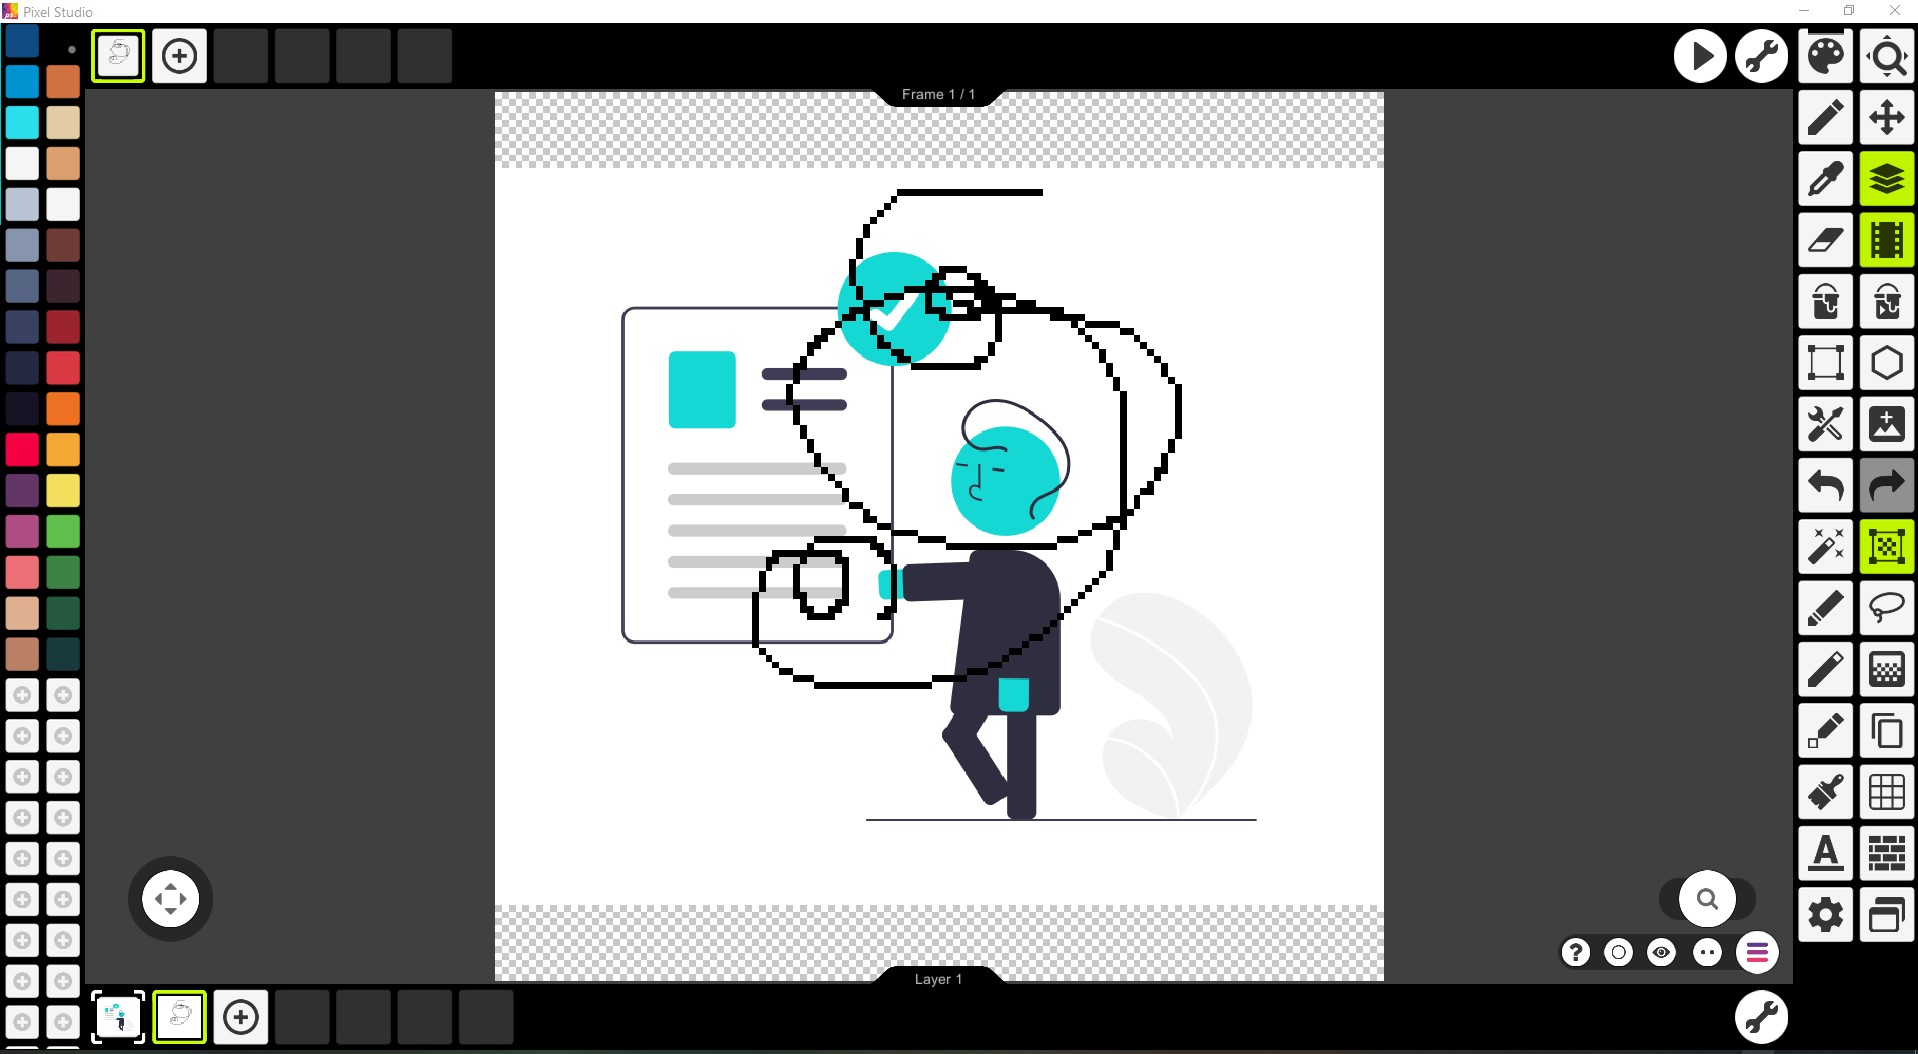
- Free
- Online, Desktop, and Mobile
- Tablet Support
Graphics Gale
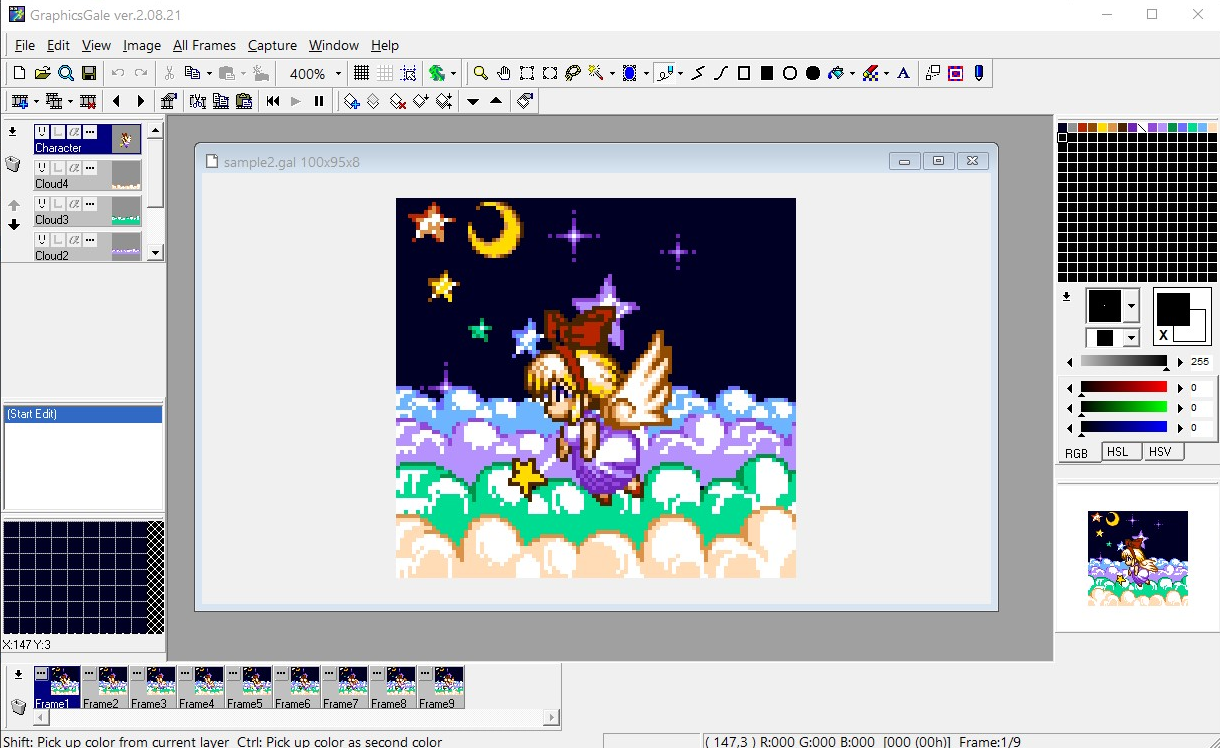
- Free
Piskel
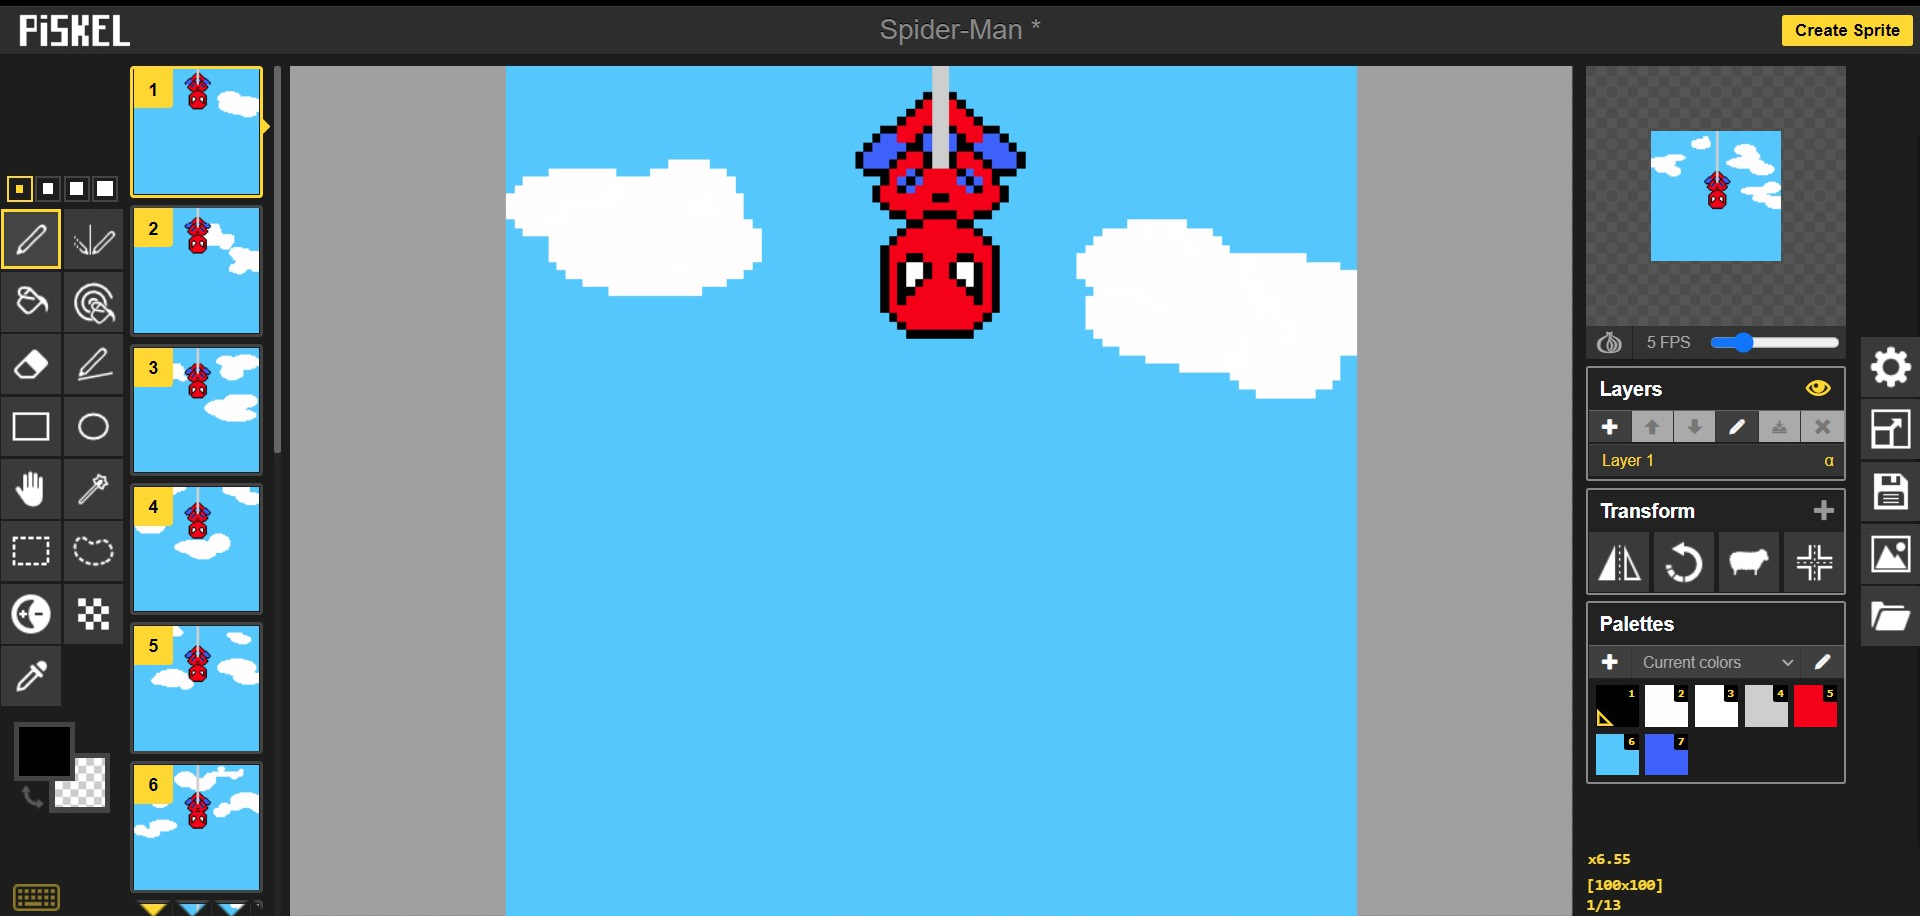
- Free
- Online
LoSpec Pixel Editor
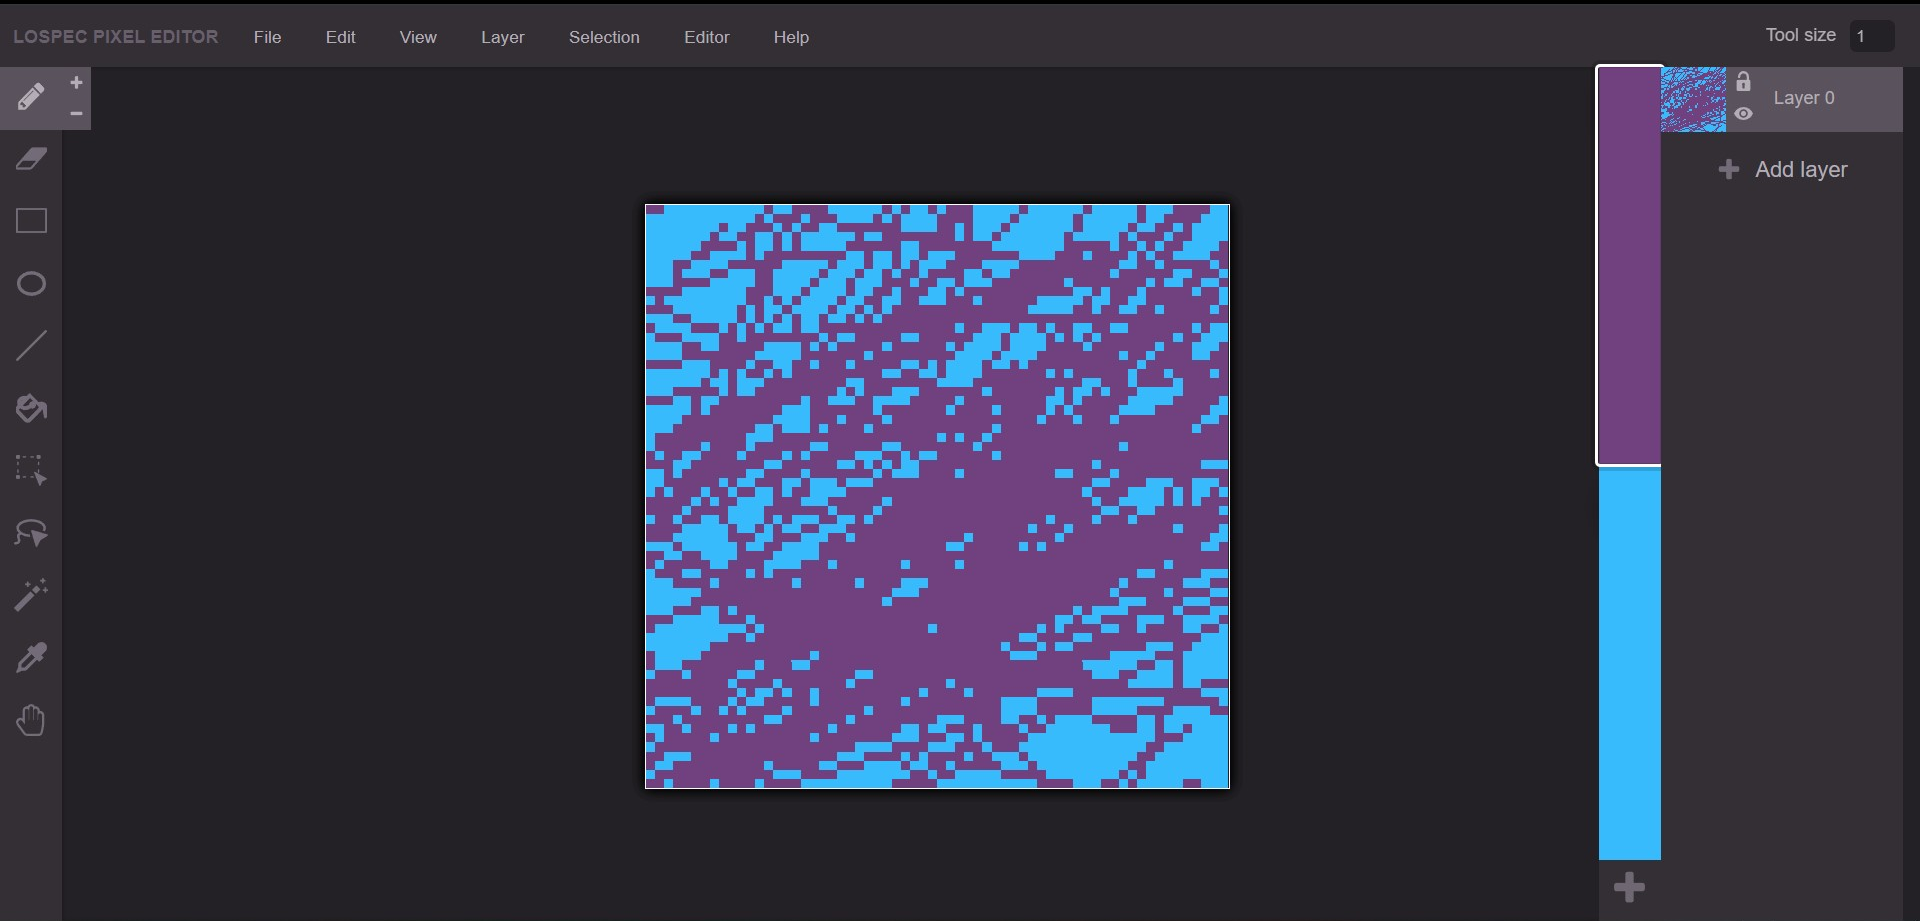

- Free
- Online
PixilArt
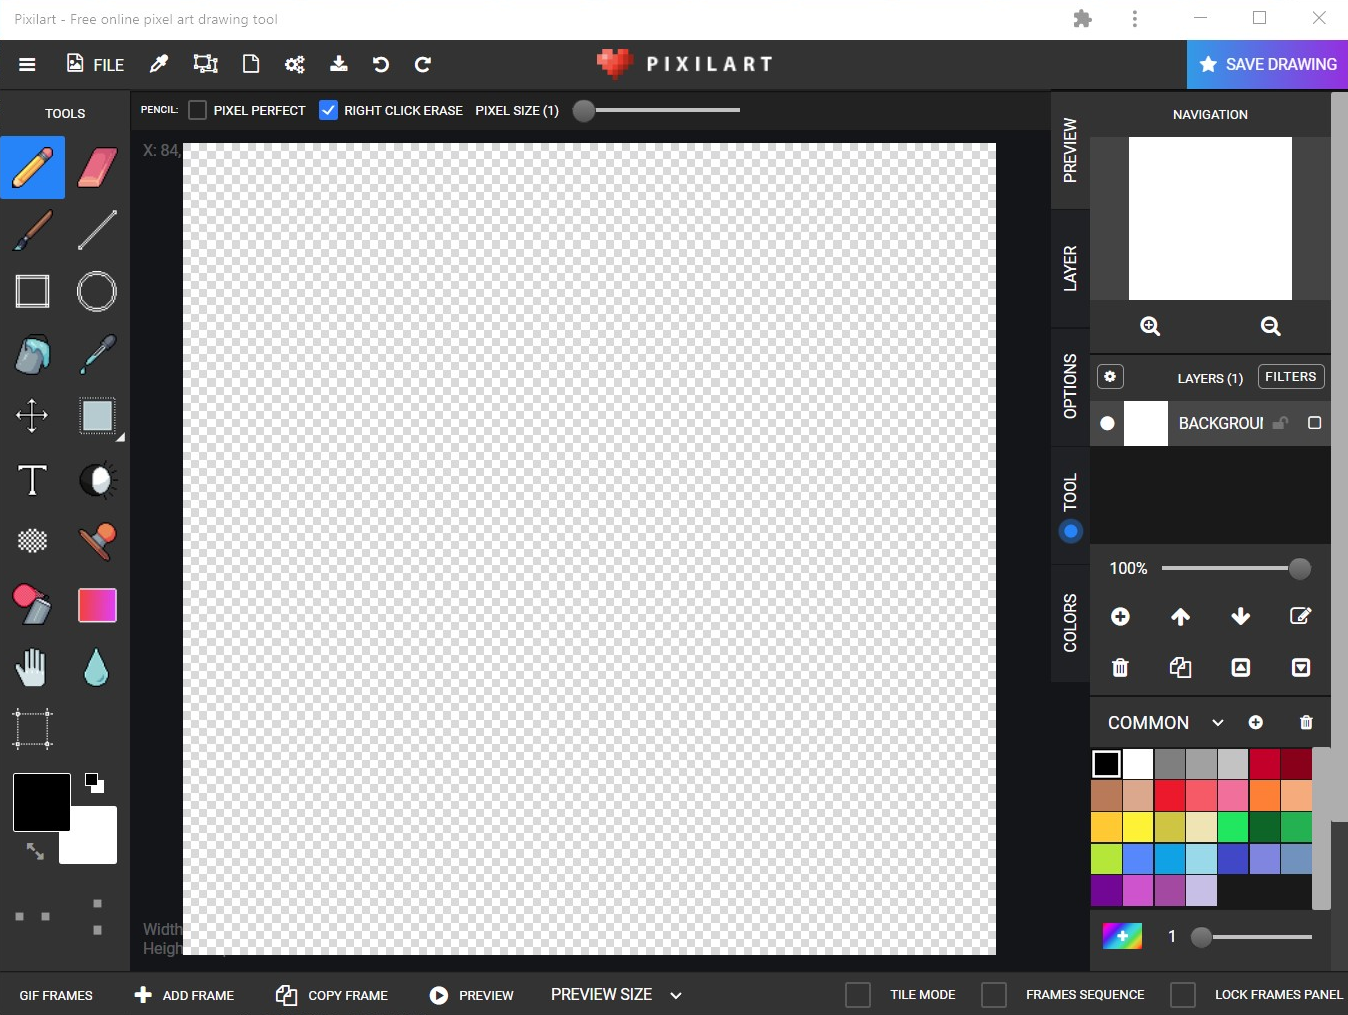
- Free
Pro Motion
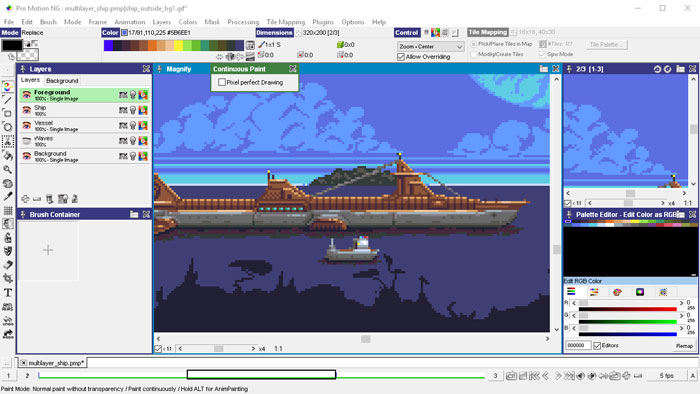
- Paid
Other Resources
Pixel Art Tutorials
- Les Forges Pixel Art Course
- Studio Mini Boss’ Blog - Pixel Art Tutorials
- Pedro Medeiros’ Pixel Grimoire
Free Game Resources
- OpenGameArt.org
- Itch.io
-
Lospec
- Pixel Art Tutorials
- Palettes
- Other Resources
- Jobs Board